
A multi-level house is not just a single flooring job, but rather three or four separate jobs combined together, with different moisture levels, noise issues, and traffic flows for each one. What works beautifully in a walk-out basement can be the wrong call entirely one flight up, and vice versa.
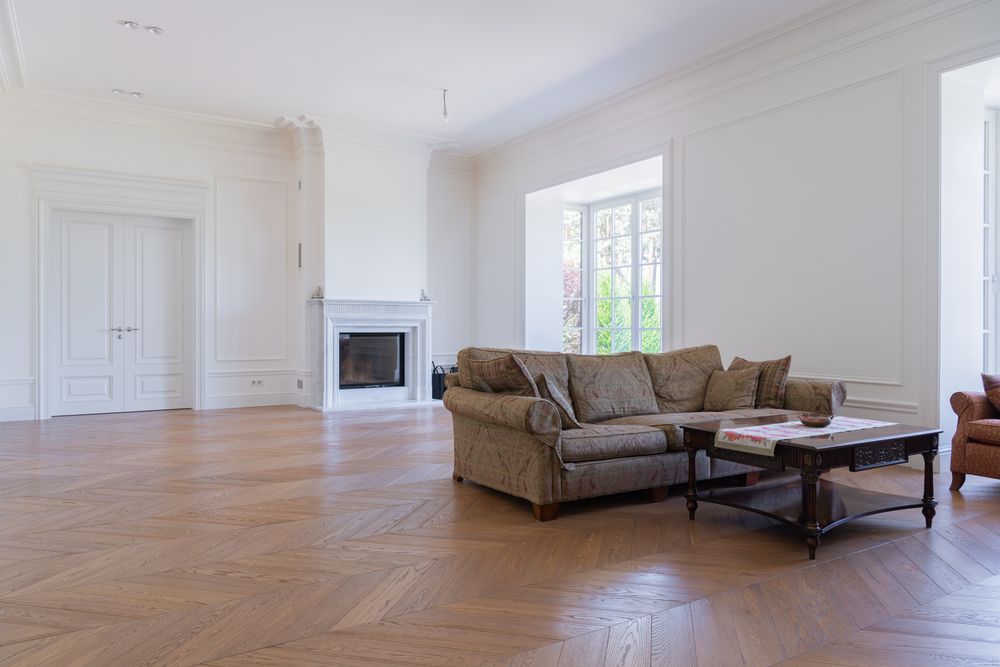
The most important thing is to understand that the flooring is based on the subfloor and what the room will be used for on that level. Sort out those two questions level by level, and most of the harder decisions – material, budget, even color – start answering themselves.
Start With What’s Under Your Feet, Not What’s On Top
First of all, learn about the type of subflooring that is used on every level. Protection from moisture is required for basements and rooms constructed on concrete slabs, as a result, materials will be needed to be able to tolerate moisture without swelling, or suffering water damage. This immediately rules out solid hardwood because it is not suitable for installation below ground level. In this case, if a concrete slab ever sweats or the water gets in, solid hardwood will curve, deform, or decay.
Engineered hardwood addresses this concern in part. As it has layers that are constructed in various directions, it is dimensionally stable enough that it can be installed on concrete floors, either floating or glued. Luxury vinyl plank overcomes these limitations. It is 100% waterproof, scratch-proof, and can withstand swings on temperature and weather basically. It is a great choice for basements, mudrooms, or any kind of transitional space where wet shoes and liquids are common. Subfloors out of wood above the ground level provide more choices, including solid hardwood.
In every case, it is advisable to be familiar with the moisture background of the room before making the final decision.
Map Traffic By Level Before You Shop
Flooring wears out based on how a room gets used, not how it looks in a showroom. Walk your home level by level and rank each room by traffic intensity. Entryways, kitchens, and main-level hallways take the brunt of daily foot traffic, dropped bags, pet nails, and the occasional dragged chair. These spaces need hard-wearing surfaces: tile, hardwood, or LVP all hold up well here.
Bedrooms, home offices, and guest rooms see far less abuse. That’s where you can lean into comfort over sheer durability, which is exactly why carpet and laminate make sense on upper levels. Laminate is budget-friendly and stands up to daily wear, though it can’t be refinished once it’s damaged and tends to sound hollow underfoot without a decent underlayment. Carpet, on the other hand, does something laminate and hardwood simply can’t: it absorbs sound.
Noise Transfer Is The Problem Most Homeowners Forget About
In a one-story, footstep noise isn’t a problem. In a build with multiple levels, it’s often the single biggest issue two weeks after everyone’s moved in. Hard flooring on an upper floor sends impact noise – footsteps, dropped objects, dragged furniture – right down through the joists into the room on the other end. A bedroom under a hardwood-floor treatment will hear every single footstep.
Carpet with dense padding is still the most effective fix for this, which is part of why it remains the default choice for upper-level bedrooms and hallways in multi-level builds. Pile height and padding density both affect how much sound gets absorbed versus transmitted, so it’s worth getting this right rather than grabbing whatever’s cheapest at the warehouse. If you’re weighing fiber types, pile weight, or padding thickness for bedrooms and stairs, talking to a specialist retailer like Carpet Corner before you order is a lot cheaper than replacing a poor install six months in.
If you really want hard flooring upstairs, don’t skip the underlayment. Acoustic underlayment – installed between the subfloor and the finish flooring – can noticeably cut impact noise even in scenarios like LVP or engineered hardwood. It’s a pretty cheap line item that makes a real difference to whoever’s living underneath.
Wet Rooms Get Zero Exceptions
Materials such as ceramic and porcelain tiles don’t absorb moisture, which makes them suitable for environments where water is a consideration, such as bathrooms or laundry rooms. The downside is that tiled floors have grout lines that can absorb water and get stained, while the tiles themselves can also get stained if they are not sealed. With proper maintenance, LVP is easier to take care of compared to tile.
Leave solid hardwood out of any room that might get wet. Engineered wood flooring can tolerate some moisture, but there are limits. In other words, a truly wet room should not have any organic material on the floor – neither solid hardwood nor engineered wood. Any kind of persistent water can seriously damage both. Tile is the better choice if you anticipate a lot of water.
Keep Sightlines Consistent Within A Level
Open-plan main levels can feel choppy really fast when every room has a different material. If your kitchen, dining room, and living room bleed into one another without walls sectioning them off, keep to one flooring type. This will help the space feel like one unified room instead of three jockeying for elbow room. Opt for a height transition in a natural break point, like a doorway, a change in ceiling height, or a stair landing if you need a little height difference between materials.
This actually matters more than people think when you go to sell the house. A choppy floor plan with three material types crammed onto one open level often becomes “we were in the middle of a renovation and ran out of money”. One beautiful floor reads as “yes, we designed it that way on purpose”.
Treat Stairs As Their Own Category
Stairs cover all the issues we just talked about: noise, safety, wear and tear, and visual continuity between two floors. They should be designed independently, not as an afterthought to whatever got installed on the floor above or below.
Carpeted stairs make the most sense for almost all of us. They’re a safer surface than hard stairs because of the grip they offer. They’re much quieter than hard stairs for foot traffic shuttling between floors. And, should somebody slip and take a little tumble, there’s a lot less damage that can happen on a carpeted stairway than one with a metal nosing. But a stair carpet must be tightly woven and exceptionally wear resistant because the nose of each stair takes about 10 times the abrasion that a flat hall ever will. A loose or poorly fitted stair carpet is not just ugly. It’s an accident waiting to happen. Hence, this is a place where pro installation is worth the cash, not a DIY job.
If you’ve got a main floor with hard surfacing that changes to carpet upstairs, plan this transition at the top or bottom landing, not in the middle of the flight. It looks cleaner and it’s a lot easier to make the transition artfully.
Don’t Ignore Radiant Heat If You Have It
If your house has radiant floor heating on any level, your material options narrow before style even enters the picture. Tile and engineered hardwood both conduct heat well and are generally the go-to choices over radiant systems. Solid hardwood, on the other hand, acts more like an insulator – it dulls the heat transfer you’re paying for, and years of expanding in summer and contracting in winter tend to leave it gapping or warping. If you want a wood look over a heated floor, engineered is really the only option that won’t leave you (and the floor) regretting it a couple of winters in.
Check with your installer about underlayment, too, since it plays almost as big a role as the flooring itself. Some adhesives and underlays trap heat instead of letting it through, which quietly undercuts the whole point of having radiant heat. Manufacturers usually list a maximum recommended floor temperature for their products, and it’s worth confirming your system’s settings won’t exceed it – running a system too hot to compensate for a poor setup is a common way people end up with cracked tile or a warped floor despite doing everything else right.
Spend Where Buyers Look, Save Where They Don’t
Not every room in your house deserves the same budget per square foot. Main-level floors are what buyers and appraisers actually see when they walk through, so that’s where hardwood, quality tile, or premium LVP earns its keep. The National Wood Flooring Association’s real estate surveys back this up: 99% of agents say homes with wood floors sell easier, and 90% say they sell faster. That’s a real edge in the rooms people see first.
Bedrooms, closets, and basement rec rooms are a different story. Nobody’s making a purchase decision based on the carpet in a closet. Laminate or a solid mid-range carpet gets the job done there without spending extra on materials only the household will ever notice.
Keep Resale Value In Mind Even If You’re Not Selling Soon
Daring flooring decisions quickly become outdated and also limit the number of future buyers. You might like a bright-red carpet or a very bold tile at the moment, but when you decide to sell your house, such choices can turn your buyers away. Neutrals and classics are also what appraisers prefer as trends come and go.
This doesn’t imply all your floors should be beige, but that you should opt to make a bold statement with something easily replaceable like a rug, rather than something permanent like a floor.
Get The Transitions Right Or Nothing Else Matters
All the planning in the world can go to waste if the nitty-gritty details of where the actual materials will meet each other are given short shrift. Every point where a hallway bumps up against a staircase, or a kitchen shares a wall with a living room, needs a clean height match and, in the case of a step up or down, a proper threshold or stair nose. Mismatched heights aren’t just a cosmetic problem, they’re a trip hazard, and a home with several of them will start to feel like a home with shoddy work – even if all the floors themselves are high quality.
Plan these handover points on paper, before the first piece of flooring goes in, room by room. Level by level. It’s a lot cheaper to catch a mismatch in the planning stage than tear out a stretch of molding after the fact.
A multi-level home is really a series of connected micro-decisions: about subfloor and moisture exposure in the bathroom; subfloor and traffic in the entryway; subfloor and noise in the bedroom; and how each room hands off to the next one. Get that sequence right on every level, and the floors stop being separate projects in separate rooms and start working as one system that actually holds up to how the house gets lived in.